(All photos courtesy of Sonja, from
Simply Sonja Photography based in Bellevue, WA)
Everybody has their favorite way to form a loaf. Some people cut off a hunk and carefully round it into a loaf shape. My sister slap their dough into the pan and then poke it until it fills out the corners. Some people...well, ok I don't know if anyone else does this...but I roll mine up like a jelly-roll. I think I read about this method in an ancient Betty Crocker cookbook. Since it's always worked well for me, I've stuck with it. There are a few tricks, though.
First, if you've made a batch with more than one loaf, divide your dough. I like to use a knife with large serrations.
If eye-balling dough lumps isn't your thing, you can plop your pieces onto a scale to make sure they are all the same weight. That will take care of any differences in air content between the piece you squished when you cut it off and the piece you cut off FROM, that isn't squished yet. (Does that make sense to anyone??)
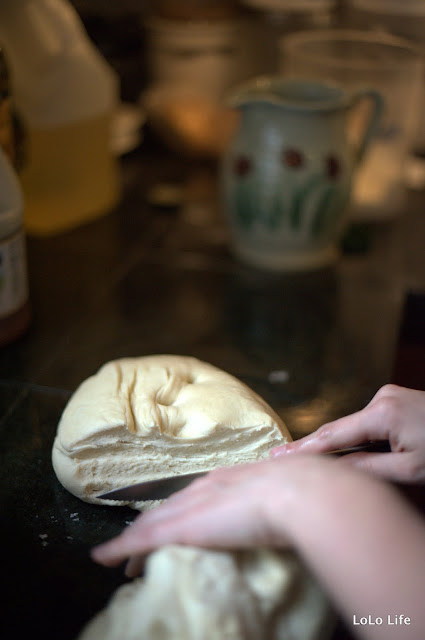
Next, take your loaf chunk, set it on the counter, and use your knuckles to flatten it out. You want it just about as wide as your loaf pan, and about 1/2" thick.
Grab one of the smaller ends and start rolling. You want NO air bubbles here, so make sure you stretch the dough and tuck it tightly. If you have any air bubbles, they will expand in the oven leaving you with large doughy holes in your final loaf.
As you work, you'll notice it getting wider than your pan, with scraggly little ends. Use your pinkies to tuck those ends in as you roll.
The final product! Round, with the seam on the BOTTOM of the loaf. If it's anywhere besides due south, your bread will kind of explode open in the oven. It will still taste fine, but it might not fit into the toaster. Now pop it into a greased loaf pan, or onto a greased cookie sheet, and let it rise about 30-45 minutes before baking.