Wednesday, January 29, 2014

Honey Whole Wheat Oatmeal Bread


Mmmm. Fresh bread, warm from the oven. There is no better smell, right? I've been making bread for my family for about 5 years, but it was my sister who showed me a way to really kick it up a notch. Whenever we have leftover oatmeal after breakfast...it's bread day! 


The oatmeal holds a lot of water, without actually watering down your dough. Once you mix up the loaf and bake it, you cannot find a single oat, so nobody will ever know your secret. 


The result, though, is a chewy, moist loaf that is absolutely delicious. It makes great sandwiches, and is fantastic toasted with jelly, peanut butter, or (my favorite) Nutella!


LoLo's Honey Whole Wheat Oatmeal Bread
4 Loaves (recipe can easily be scaled back)

Ingredients: 
4 cups warm water
1/4 cup honey
2 tbsp. yeast
1/4 cup olive oil
4 tsp. salt
2 cups prepared oatmeal
7-10 cups whole wheat flour

In the bowl of your electric mixer, combine your water, honey and yeast. Allow to proof for several minutes, until foamy, then add your oil, salt, prepared oatmeal and 7 cups of whole wheat flour. Stir to combine, then set aside to rest for 20-30 minutes. 

After the resting period, begin mixing with your dough hook. Add flour as needed, until the dough can just clear the sides of your bowl, and allow to knead for 10 minutes. After 10 minutes, cover the bowl with a damp towel and allow to rise until doubled in size, about one hour. 

After an hour, dump the dough onto a floured surface. Divide into four portions, roll each portion into a loaf shape, and place (seam side down) into a greased 9x5 loaf pan. Allow to rise again until the loaves are even with the top of the pan, almost another hour. 

Bake at 350 for 30-35 minutes, or until the bottom of the loaves sound hollow when tapped with your fingernail. 

Enjoy!


Thursday, January 23, 2014

Soy Milk / Tofu Fa (Tofu Pudding) (Vegan)

Sometime last year, I heard about a book called Asian Tofu, by Amy Nguyen. I wouldn't usually be excited about a book on tofu, but this book had something different - tofu fa. Since living in Hong Kong over a decade ago, I have been looking for a way to make this treat at home. Sure, it is available at stores, but I could always find something to complain about. It had a weird odor. The syrup was mouth-numbingly ginger-y. It was only available at a tiny tofu shop on Mott Street, in NYC Chinatown. (*drool*)

So. This book was praised by someone I trust, AND it had a recipe for my elusive Tofu Fa! I was sold. Onto the Christmas Wishlist it went, and (lo and behold), there it was on Christmas morning. (Thanks, Aunt Winnie!!)


It still took me a few weeks to get my act together and gather the perfect trifecta of time, inclination, and ingredients. I followed Amy's recipe for soy milk, with one small change, but when it came time to make the actual tofu, I realized I had picked up the wrong solidifying agent. Oh well - it worked out in the end. 

Amy suggests using gypsum, a food-grade plaster of paris. I have never been able to find that in stores, so I grabbed agar-agar instead (a gelatin made from seaweed). I looked online, and found that the general consensus was to use a ratio of 1/2 tsp. of agar agar to 3 cups of soy milk. The resulting tofu was a bit firmer than the traditional tofu fa, and didn't weep at all. (Usually, water will seep out of tofu as it slowly becomes firmer. This tofu was...well, it was more like very tender jello. I didn't mind at all, but a purist might turn their nose up.) 

The other change I made was to remove the bean skins, after soaking the soy beans overnight. It only took a few minutes. I used my hands to crush the beans up a bit, and then scooped the skins out. If you do this under water, the skins will naturally settle to the top of the pile. If you agitate the water, it is pretty easy to pull out the skins. You don't need to get them all, but you want to get the majority out as they are pretty bitter. 

The night before you want to make your soy milk or tofu, put a scant cup dry soy beans into a large pot, and cover with water by about 3-4". The beans are ready when they split in half easily. Crush the beans lightly with your hands, and remove the bean skins from the mix. If you swirl the beans around with your hands, the skins will rise to the top of the beans and you can scoop them out and throw them away. 

When you are ready to make your soy milk and/or tofu fa, you need to get set up. Get out your blender, a large pot (non-stick is awesome here),  a colander, a bowl just smaller than your colander, a cotton towel, a potato masher, and a wooden spoon. Once you get started, you don't want to be wandering all over the kitchen looking for stuff! 

Put the colander over the top of the bowl, line it with a cotton towel, put the potato masher nearby, and set the whole thing aside. 

Drain your beans and put them in the blender with 2 cups of water. Meanwhile, put 3 cups of water in the large pot and put it on the stove to boil. Blend your beans until they are completely smooth and creamy, then add them to your pot of water. Bring the whole thing JUST to a boil. Be VERY careful. What you are looking for is for the whole pot to foam up. It will look like a root beer float, and you have about 5 seconds to kill the heat and do your best to beat back the foam if your pot isn't tall enough to contain it. Good luck. Don't blink! 

Once the foam has subsided, carefully pour the whole pot into the towel-lined colander set up. While that drains, immediately rinse your pot out in the sink. Once these beans get dried onto a pot, it's really, really, REALLY hard to get them off. Really hard. (That's a pun. Get it? It's hard? Whatever.) 


This was my Draining Set-Up. I lined the colander with a cotton towel (in the first picture), and poured my boiled "bean smoothie" into it. After it had drained for about 5 minutes, I gathered up the edges of the towel and twisted them together with one hand, compacting the okara into one glob. Then I kept twisting, and pressing on the bundle with my potato masher, until all the liquid had been extracted. 

(okara, after pressing out the soy milk)


(It is very important to rinse everything immediately. Otherwise, the leftover bean residue is pretty stubborn!)


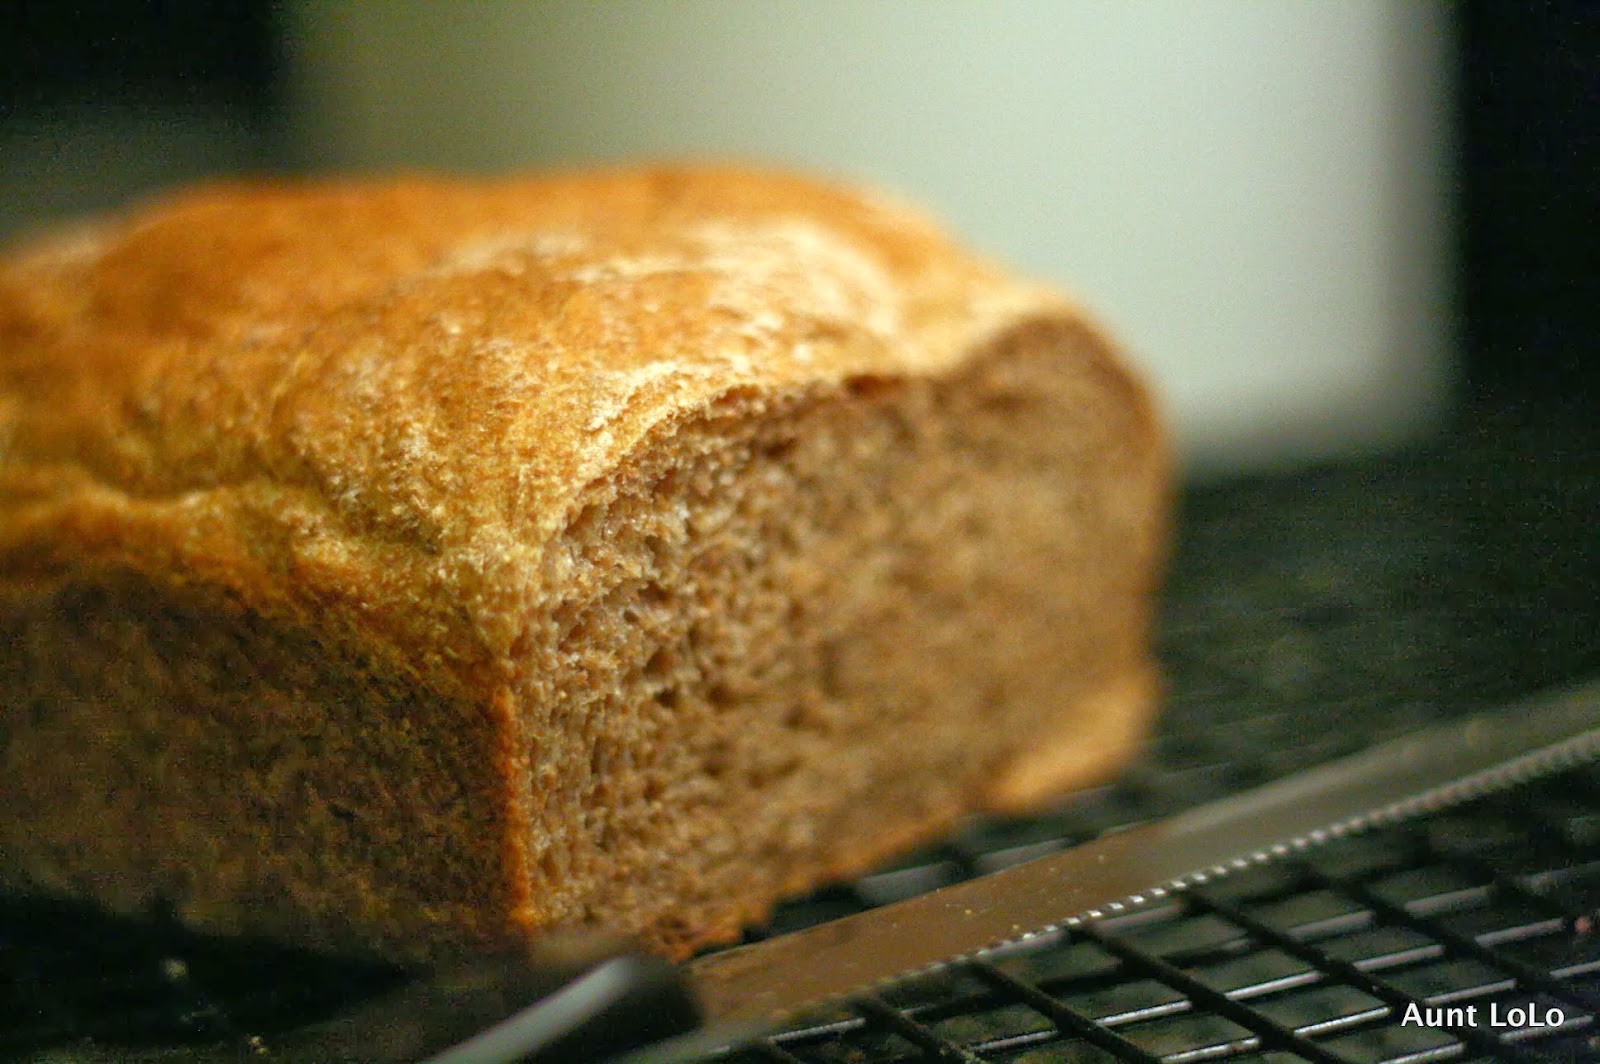
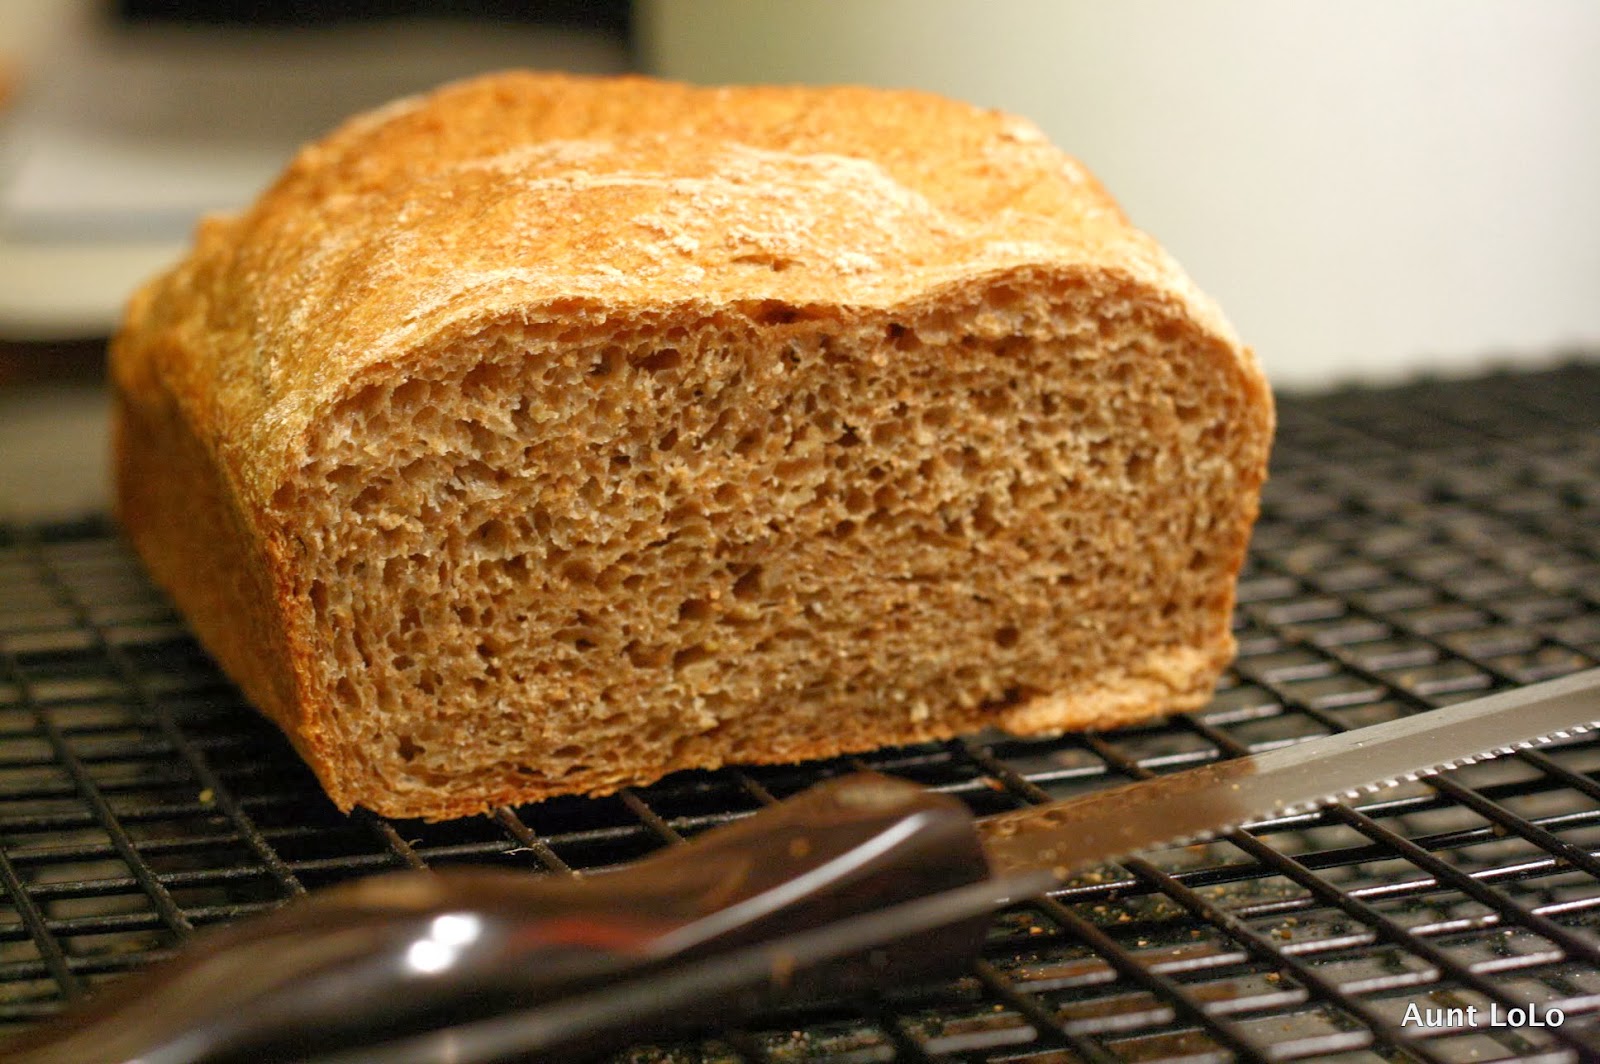
My strained soy milk. Obviously, I used a pot to catch the milk, instead of a bowl. My second time, I used a huge 10 qt. non-stick dutch oven for all the stove-top bits, and it was a DREAM to clean up. I highly recommend it. Not as pretty as a lime-green Le Creuset pot, though. So, there ya go. Get your strained "milk" onto the stove, in something you don't mind cleaning afterward, and bring it to a low boil. Simmer it for 5 minutes to finish cooking the raw beans, and...congratulations! You have soy milk! It is delicious hot, it is delicious plain, it is delicious sweetened, and it is delicious cold. 

However, if you are like me and prefer to eat your soy milk in a semi-gelatinous state...keep going! Ladle half of your soy milk into a container. I like to use the container I am going to pour my finished tofu fa into, so I have one less dish to wash. So. Find a container that will hold at least 3 cups, and has a lid. Ladle about half of your soy milk into that container, and whisk in 1/2 tsp. of Agar-Agar. Bring your remaining soy milk back to a low boil, and pour your Agar-Agar/soy mil mixture back into the pot. Really stir this well - the Agar-Agar will want to settle to the bottom, and that won't give you nice tofu fa. Whisk it up, stir it violently...whatever floats your boat. Just get it back up to a boil, boil it for about a minute or so, and then kill the heat. 

You might want to put your container in the sink for this next step. You're going to pour the tofu fa mixture into the container, from at least 12" above the container. Putting it in the sink makes sure you don't need a step stool for this. Pouring it from high up makes sure that the whole mixture has one last time to really churn up and get that coagulant mixed through out the whole batch. Now cover the container with a towel, then the lid, and put it somewhere for at least 15 minutes. Don't touch it! After 15 minutes, you can carefully transfer it to the refrigerator. After an hour or so, your soy milk has magically transformed into tender, melt in your mouth...tofu fa! 


Serve topped with syrup. Plain old maple syrup will certainly work, and I think my tofu-loving 5 year old prefers Mrs. Butterworth's. The more traditional route would be to simmer 1 brick of Chinese brown sugar (pin tong) on the stove with about 1 cup of water to make a sweet syrup. A slice of ginger can be added as well. 

Divide the tofu fa between four bowls, and top with a few spoonfuls of the syrup. Enjoy warm or cold! 

Soy Milk / Tofu Fa (Tofu Pudding)
Serves 4

Ingredients: 
1 scant cup dry soy beans
Water, divided
1/2 tsp. Agar-Agar

Syrup (optional)
1 brick pin tong (Chinese brown sugar)
1 cup water

The night before: 
Soak your soy beans in enough water to cover them by about 3-4 inches. The beans will swell. 

Cooking time: 
Drain the beans and place in the blender. Line a colander with a tea towel, place it over a bowl, and set aside. Put a non-stick pot on the stove with 3 cups of water and bring to a boil. Put 2 cups of water into the blender and blend the beans until they are smooth and creamy. 

Pour your pulverized beans into the pot of boiling water, and bring back to a boil. Be very careful - it will foam up quickly and will overflow the pot if you are not careful. As soon as it foams up, turn off the heat and carefully blow and stir the bubbles back into submission. Pour the mixture into your lined colander and let it drain into the bowl. 

Immediately rinse out your pot, and put it back on the stove to use again. Gather the edges of your tea towel and press the bean pulp (okara/ dau ja) into a ball. Use a potato masher to press the remaining liquid out. (The okara can be discarded, or saved for eating in other recipes. I feed it to my chickens.) 

Pour the drained milk back into your pot and bring it to a boil. Simmer for 5 minutes, stirring constantly to prevent it from scorching. If you see a skin form on the top, you can pull it off and eat it. It is called tofu stick, and can be dried and saved. I prefer to call it a mid-chore snack, though. 

Stop here for soy milk. Allow to cool and store in the refrigerator for up to 4 days. 

To make tofu fa: 

Ladle half of the soy milk into a container that has a lid. Bring the remaining soy milk back to a boil. Whisk the Agar-Agar into the soy milk you ladled out, then carefully pour that mixture back into the pot. Bring the whole thing back to a boil for about 1 minute, then carefully pour it back into your container. Loosely cover with a towel, then put the lid on the container. Do not disturb the container for at least 15 minutes. After that, it can be moved to the refrigerator. Once the tofu fa has solidified, it can be served warm or cold, with syrup.* 

Syrup: 
In a small sauce pan, combine 1 cup of water and 1 brick of Chinese brown sugar (pin tong). Simmer until the sugar has dissolved. 

Enjoy! 


Tuesday, January 21, 2014

"Traffic Light"

No recipe here, just a fun picture of dinner.


My mother in law made this for dinner the other night - a stir fry of onions, green bell pepper, dried daikon radish (choi po lup), and sweet chinese sausage (laap cheong). She finished it with a soy sauce/sugar/oyster sauce/cornstarch slurry. It was absolutely delicious! What made it even more fun was when my husband told me the nickname for this dish - it's called Traffic Light. Red sausage, green peppers and yellow onions and dried daikon. Cute, right? 

So, there you go. Enjoy! 

Sunday, January 19, 2014

Chocolate Cranberry Refrigerator Oatmeal

I cannot take credit for this idea - this recipe is adapted from The Yummy Life. If you love easy, healthy, make-ahead breakfast ideas, please head over and check her out! She has 16 recipes for refrigerator oatmeal that are really tasty!

My husband ran across her recipe a few weeks ago, and shared it on his Facebook page. It's taken me this long to remember to grab the ingredients at the grocery store! He and I have kind of a standing deal - I fix oatmeal for him to eat every morning, and he exercises and eats healthy, and we get to skip  cholesterol medication. It's a win-win situation, right? Before the baby was born, it was no big deal for me to get up and cook some oatmeal while he took a shower. I had to be up anyhow, and I liked the bit of quiet before the kids came downstairs. Post-baby, though, has been a different story! When he gets up in the morning, I am so groggy, I usually sleep through his shower, my alarm, and most of our before-school prep time completely. Ouch. Sometimes we do steel cut oats in the slow cooker, but he likes to schedule early morning tennis court times and doesn't eat breakfast before he plays. And we never remember to coordinate our schedules to that degree, so if I DO remember to make him oatmeal, it's a morning when he won't be at home to eat it.

Darn.

Enter, refrigerator oatmeal! I can pre-make a few jars, and he can either eat at home or take it with him for a post-workout meal. The oatmeal is served cold, so it just couldn't be simpler. Greek yogurt and skim milk are mixed with regular (raw) oatmeal and chia seeds. To that base, you can add any mixture of sweeteners and flavors you like!


Today, I made three versions, from The Yummy Life: Maple Blueberry, Cinnamon Apple, and Chocolate Banana. Or, I meant to. At the last minute, I decided to make a change to the banana pots. I just couldn't see day old, chopped bananas, soaked in yogurt, as being too appetizing. I subbed in dried cranberries (Craisins), because who doesn't like chocolate and cranberries, right? Getting these going assembly line style was really slick - I can definitely see myself doing this twice a week. Hopefully the kids will enjoy them, too!


Chocolate Cranberry Refrigerator Oatmeal
(Adapted from Yummy Life)

Serves 1

In a half-pint sized jar (or similar 8 oz. lidded container), layer: 
1/4 cup Greek yogurt
1/3 cup milk (skim, soy, almond, etc.)
1/4 cup regular oats
1 1/2 tsp. chia seeds
2 tsp. sweetener (agave or honey)
2 Tbsp. cocoa

Put the lid on the container and shake vigorously to combine. Open it back up and fill up the rest of the space with dried cranberries, about 1/4 cup. Put the lid back on and turn it back and forth a few times to distribute the cranberries. Stick your jar in the refrigerator, and in the morning you can enjoy the fruits of your labors! 


One last note. I made up one jar of Maple Blueberry Oatmeal on Saturday night, to test the waters. It was tasty, but it never made it to the thick consistency I was looking for. The other versions I made today set up quite quickly. Just FYI. 


Monday, January 13, 2014

Catastrophe

This dish was first served to me on a campout, when I was 14. Now, when I say campout, I mean that a few leaders agreed to take a group of about twenty 14 year olds camping, to pass off some merit badge requirements for our summer camp. As we sat in a planning meeting, trying to hammer out the details, one of the leaders off-handedly mentioned that his family owned two condos near the area we were talking about camping in. All the eyes in the room were suddenly on him...and that, kids, is how my Great 4th Year Camp Out happened in a condo near the shores of Lake Chelan.

The strange digs didn't deter the more rugged of the leaders from feeding us true camping fare, though! Brother Potter pulled out a huge dutch oven in the morning and proceeded to cook us a one-pot camping feast. He called it, simply, Catastrophe.

The recipe is incredibly forgiving, and fairly adaptable. Basically, this is a mixture of breakfast meat, potatoes, onions, eggs,  and (if you like), cheese. Breakfast meat can be sausage or bacon, the potatoes can be hash browns, canned potatoes, or cubed potatoes. Some recipes call for cheddar, some call for Velveeta, and I leave it out entirely.


So. That's clear as mud, eh? I'll give you what I do for my family of 4. With a side of fresh fruit, this is a great breakfast for a lazy Saturday morning, or a fun dinner for a busy weeknight!

Catastrophe
Serves 4-6

Ingredients:
1/2 pound of bacon, raw, chopped
1 large onion, chopped
2 cups of hash browns (I use the cartons of dried hash browns, and use 1 carton)
6 eggs, scrambled

Toppings: (Take your pick)
Cheese
Ketchup
Hot Sauce

In a large dutch oven, cook your bacon until it starts to lose its fat and is sizzling. Add your chopped onions and continue to cook until the bacon and onions are cooked to your liking.

Drain off the fat (or leave it in, if you're feeling feisty), and add your hash browns. Don't stir too much at this point - you want the hash browns to get a little crispy, instead of just steaming them. Let them cook in the remaining bacon grease for a few minutes, then use a spatula to sort of turn the potatoes over, in clumps. Let them brown again. Repeat the process, stirring to break up the browned potatoes, until everything is looking nice.

Finally, add your beaten eggs and continue to cook (gently folding the mixture), until the eggs are completely cooked.

Scoop into bowls and serve with your choice of toppings. My kids prefer ketchup!

Sunday, January 12, 2014

Aunt LoLo's Apple Blackberry Pie

The other day, I decided that what my family needed was an apple pie. Ever have one of those days? When you just really, really need a pie, to make everything right in the world?

I only had 4 apples left from the crate of apples I bought in the fall, so I dug through the freezer and grabbed a bag of blackberries I picked last summer to make sure I had enough filling. A search online gave me a pie crust recipe that didn't involve digging my food processor out of the back of the cupboard, and I got to work.

The pie was, unexpectedly, delicious. Probably the yummiest pie I've ever made! The real star of the show, though, was the crust. As my husband dug into his piece, he asked, "Where did you get the crust?" "Oh, I made it." "No, I know you made the pie, but where did you get the crust??" He thought I bought it. The crust is tender and flaky, and just a bit salty, to counteract the sweetness of the filling. This is a keeper!


Aunt LoLo's Apple Blackberry Pie
Makes one 9" pie

Crust: (recipe adapted from here)

Fill a measuring cup with ice and water. Set aside.

In a high powered blender, or food processor*, combine:
2 cups all-purpose flour
1 tsp. salt

Turn the blender on at the lowest speed (variable 1) and slowly increase to medium speed (variable 5). Blend for 10 seconds, then remove the plug from the middle of the lid.

With the blender running, drop in:
3/4 cup Crisco

Blend for 5 seconds.

Add:
5 Tbsp. ice water

Blend until just combined. This should not form a ball. You just want it all equally damp.

*If you are using a food processor, you should be pulsing at each step to combine. 

Prepare your counter with two largish pieces of plastic wrap. Dump your damp dough onto one of the pieces and carefully knead it a few times until it makes a ball. Divide the ball in half, shape each half into a disc, and wrap them up their own pieces of plastic wrap. Refrigerate the dough for 1 hour.

Assembling the pie:

Preheat the oven to 425 and set aside a 9" pie dish.

Peel, core, and chop :
4 medium sized apples

In a large mixing bowl, combine:

Chopped apples
1 lb. frozen blackberries, thawed
1/2 cup white sugar
1/4 cup corn starch

Stir to combine, and set aside.

Remove your wrapped pie crusts from the refrigerator. Flour your countertop, and unwrap one pie crust disc. Roll it out until it is 12" across, and carefully move into your pan. The easiest way is to carefully fold it in half over your hand, and then unfold it into the pan. Settle your crust into the pan, making sure you aren't stretching it at all. Trim it so that the top of the crust is about even with the edge of the pan. Fill the crust with your prepared fruit mixture, stirring it first in the bowl to make sure the corn starch is evenly distributed.

Unwrap the second crust and roll it out so it is approximately 10"-11" across. Drape it across your filled pie crust. Go around the edges of the pan, rolling the excess crust under and using your fingers to press it into a pretty shape. Use a sharp paring knife to poke about a dozen holes in the top crust. Sprinkle with coarse sugar if desired, or brush with milk or egg wash.

Place the pie on a cookie sheet, just in case it boils over, and bake it until the top is lightly browned, about 30 minutes.